If you’ve ever bought a beautiful planner and then abandoned it by February, you’re not alone. The secret to a planner that actually works isn’t hunting for a unicorn layout – it’s pairing simple, affordable accessories with the planner you already have. With the right tools, you can transform any planner or calendar into a powerful system for your work, classes, and life.
This guide shows busy professionals and college students how to level up a paper planner using everyday office supplies – plus practical “how to use it” mini-playbooks for each item. We’ll also show you how to make your own custom “stickers” with Avery® labels in minutes.
Why this works: Paper planning still wins for many people because it’s distraction-free, easy to use, and helps memory through handwriting. Pairing paper with smart accessories delivers clarity and flexibility without app fatigue.
At a Glance: The Accessory Shortlist
- Colored pens and highlighters
- Sticky notes and page flags
- Binder clips, paper clips, and bulldog clips
- Index cards
- Ruler or straightedge
- Correction tape or erasable pens
- Elastic bands and pen loops (or “binder bands”)
- Avery® printable labels (DIY functional stickers)
- Pencil pouch or desktop organizer
- Desk or wall calendar (big-picture companion)
1) Colored Pens & Highlighters: Build a Color-Coding System
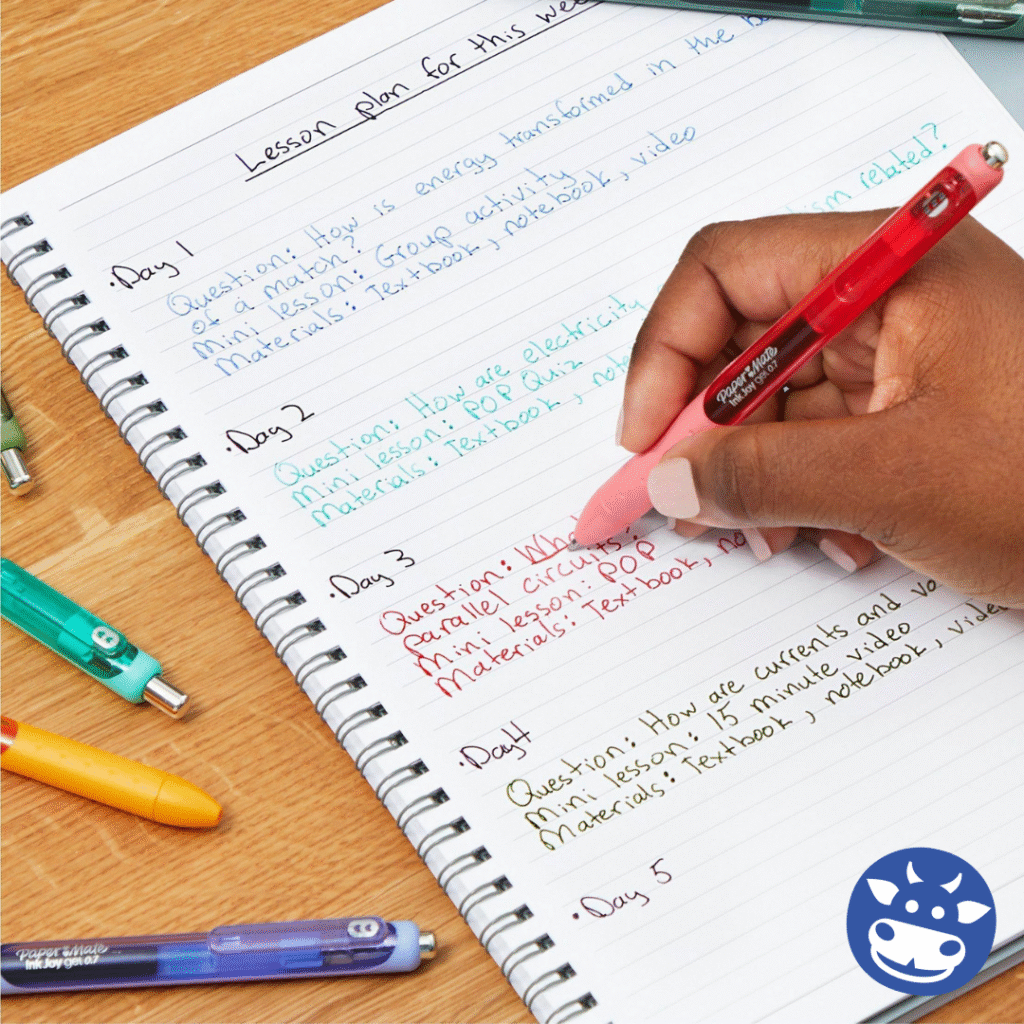
Why it’s essential: Color separates categories at a glance – no reading required – so your brain spots priorities faster during hectic days.
How to use it (3 simple steps):
- Pick a palette of 4–6 colors max.
- Example system:
- Blue = Work/Meetings
- Green = School/Classes
- Orange = Deadlines/Exams
- Pink = Personal
- Yellow highlighter = “Today” focus
- Example system:
- Be consistent across all pages and calendars. Use the same colors on your monthly and weekly views for instant recognition.
- Add a legend. Write your color key on the inside cover or print a small label with your key (details in Section 8).
Power user tip (busy pros): Use one color per client or project to scan your week for workload balance.
Power user tip (students): Assign a color per course so you can skim your week to spot tests, labs, and readings.
For inspiration and ways to make color-coding stick, check out practical guidance from Avery’s planning tips that break down step-by-step color systems. Source: Avery
Shop Colored Pens and Highlighters.
2) Sticky Notes & Page Flags: Flexibility Without the Mess
Why it’s essential: Plans change. Sticky notes and flags let you shift tasks without crossing out your pages.
How to use it:
- Daily “Hot List.” Keep a stack of 3″×3″ notes on your weekly spread. Write your top 3 priorities for the day – move the note forward if something slips.
- Parking lot for ideas. Jot brainstorm items on a note and stick it on the monthly page for that project.
- Page flags as navigation. Use color flags to mark: This Week, Next Week, Bills, Assignments, or Project X.
- Layered planning. Place transparent sticky notes over recurring sections (like workout or study blocks) and move as needed.
Extra mile: Some power users even run their entire to-do system on individual sticky notes – one note per task – then stack, group, or migrate. It’s simple, tactile, and fast. Source: Reddit
Shop Sticky Notes and Page Flags.
3) Binder Clips, Paper Clips & Bulldog Clips: Tame the Paper Chaos
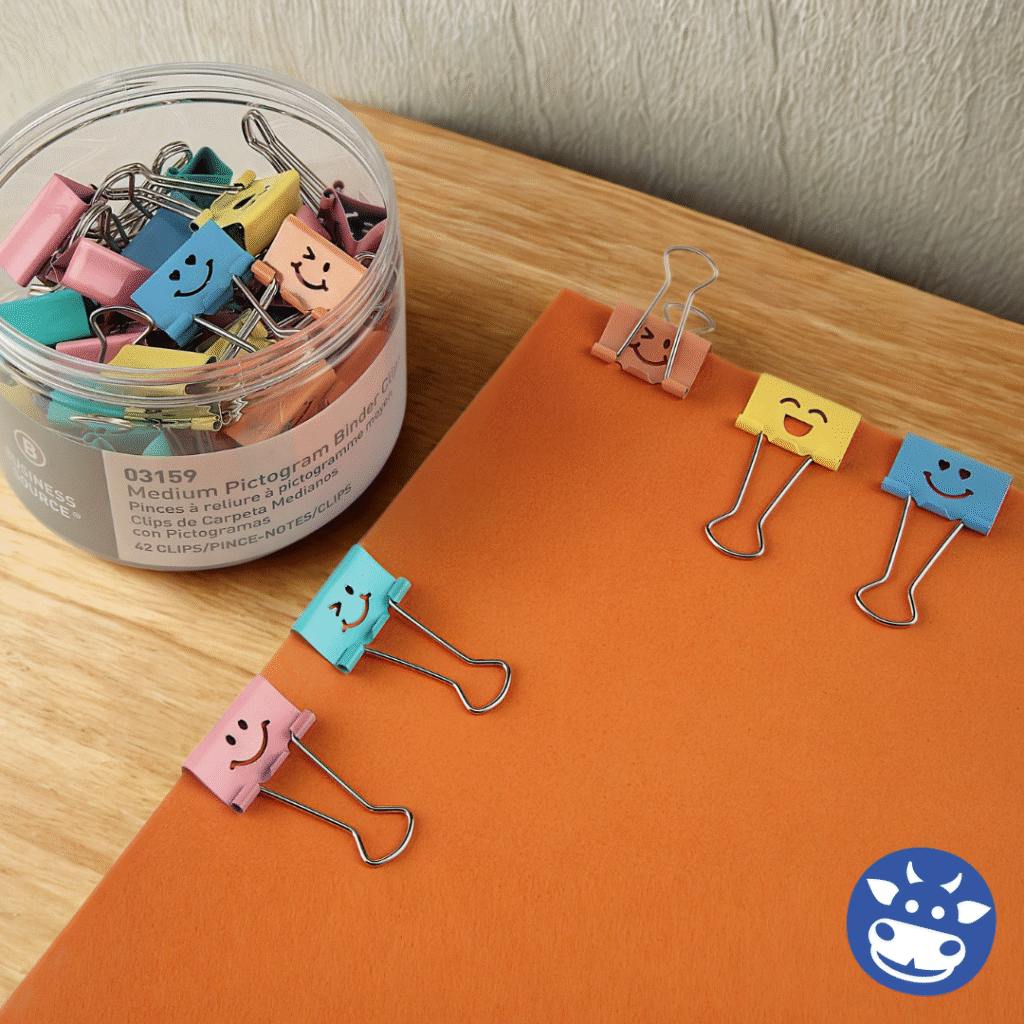
Why it’s essential: Loose sheets (meeting handouts, syllabi, receipts) create clutter and get lost – right when you need them most.
How to use it:
- Clip your week. Attach relevant handouts to your current weekly spread so everything lives together.
- Receipt corral. Keep a small bulldog clip on your monthly budget page; drop receipts there until you reconcile.
- Quick bookmark. Use a bright binder clip on the current page; you’ll never waste time flipping.
- Mini filing. Paper clips + labeled sticky notes = instant tabs for sections inside a notebook-style planner.
Shop Binder Clips, Paper Clips, and Bulldog Clips.
4) Index Cards: Portable Priorities and Study Boosts
Why it’s essential: Index cards are rugged, cheap, and perfect for laser-focused to-dos or study prompts.
How to use it:
- Daily 3. Each morning, write your “Top 3” on a card and clip it to your planner’s cover. If you finish, write a second “bonus” trio.
- Meeting prep. Put talking points on a card and clip it onto the weekly page where that meeting lives.
- Student mode. Make flashcards for exam topics; file due dates on the back to integrate studying with your schedule.
Shop Index Cards.
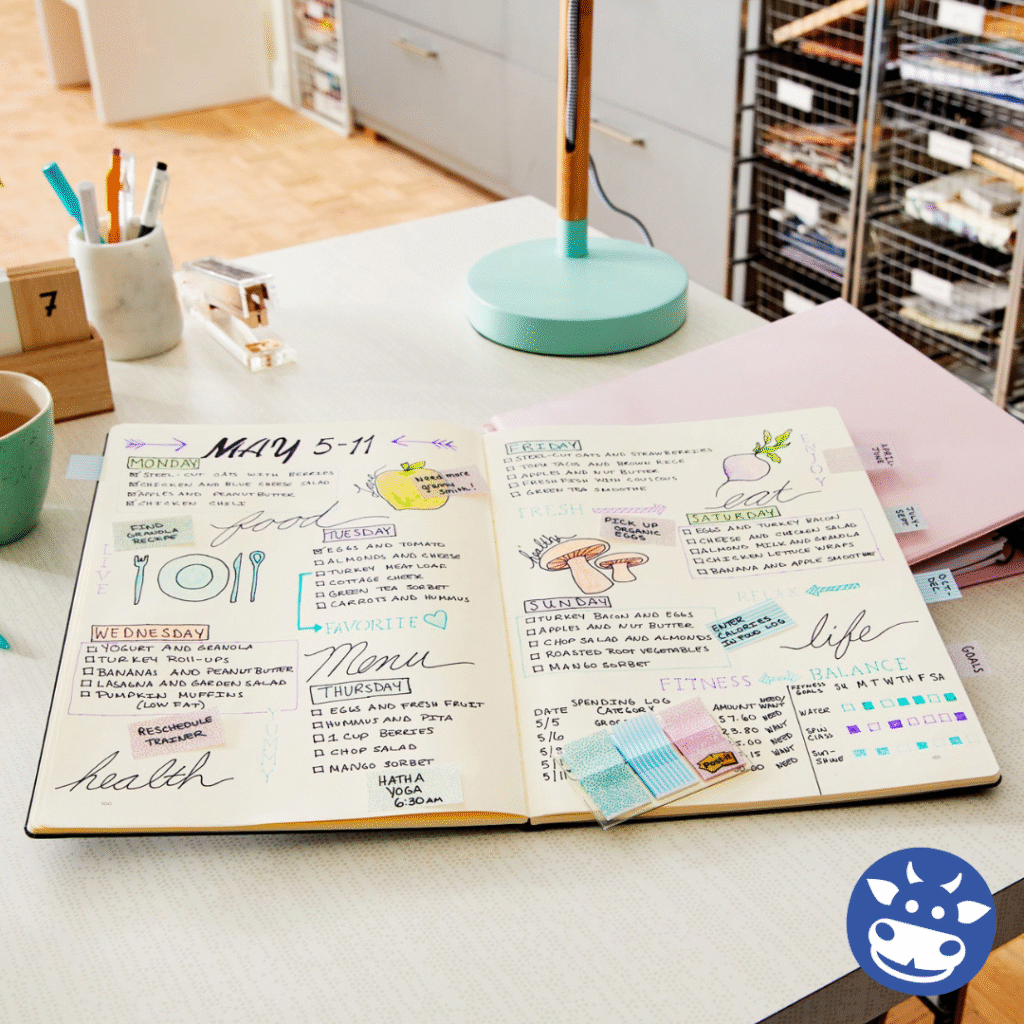
5) Rulers: Structure Without Fancy Templates
Why it’s essential: Most planners don’t come with perfect grids for your unique needs. A ruler lets you create clean sections in seconds.
How to use it:
- DIY time blocks. Draw boxes for morning/afternoon/evening – or 30/60-minute rows if you need more structure.
- Habit tracker strip. Add a tiny grid to your weekly page (M-T-W-T-F-S-S) for hydration, study, or outreach.
- Project lanes. Split your weekly spread into project columns to see workload across clients or classes.
Shop Rulers.
6) Correction Tape or Erasable Pens: Edit Without the Eyesore

Why it’s essential: Plans shift daily. Clean edits protect legibility and keep you using your planner.
How to use it:
- Move a meeting? Strike the original with a single line or tape over it, then rewrite the new time in your color system.
- Rollovers that don’t snowball. If a task slips, draw a small arrow (→) and rewrite it on the new day – correction tape keeps it tidy.
- Students: Update due dates as syllabi change without turning pages into a mess.
Shop Correction Tape and Erasable Pens.
7) Elastic Bands: Your Planner, Ready to Roll
Why it’s essential: The best system is the one you carry. Large rubber bands keep pages together and a pen in reach – so you’ll actually use your planner.
How to use it:
- Create a “grab-and-go” setup. Loop your favorite pen + highlighter; add a slim sticky-note pad under the band.
- Protect your pages. Elastic bands stop pages from snagging in a backpack or tote.
Shop Elastic Bands.
8) Avery® Labels: Make Your Own Functional “Stickers” (in Minutes)
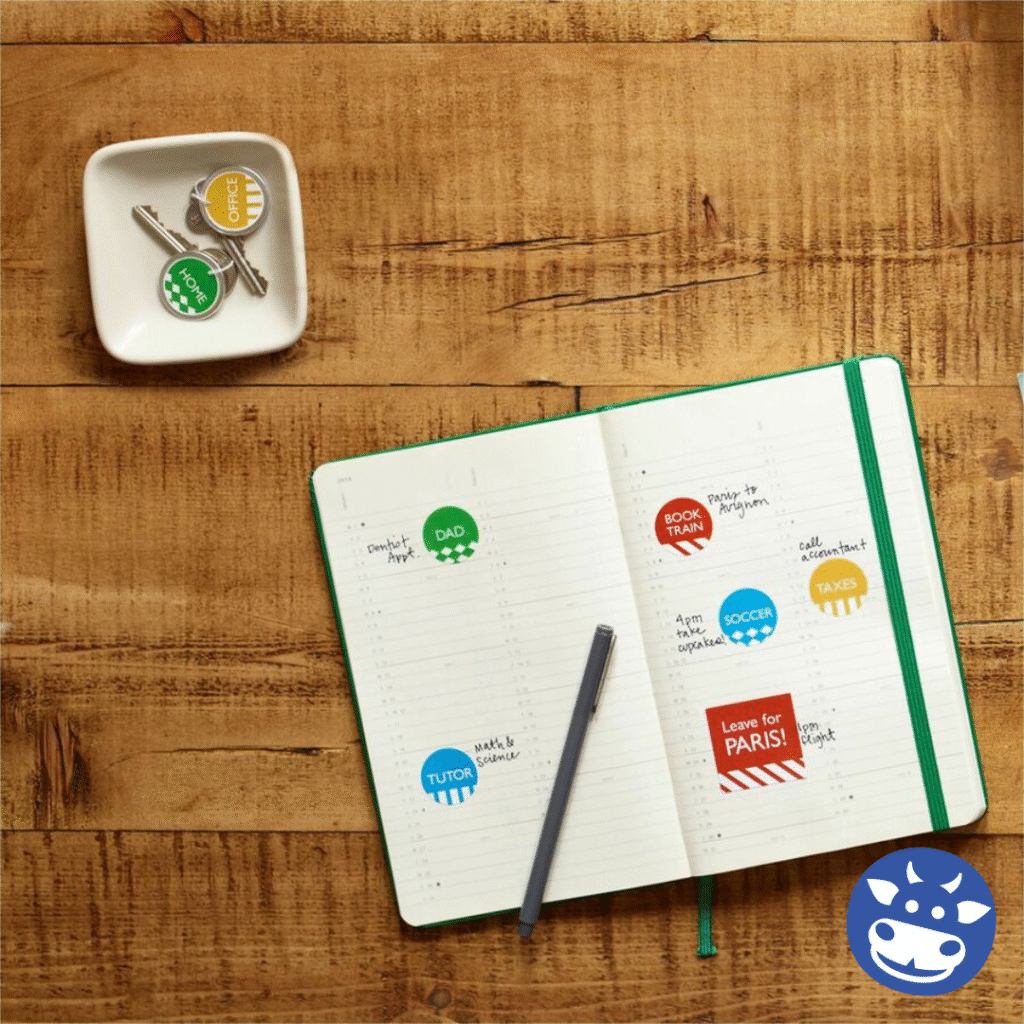
You don’t need specialty stickers to add power and polish. With Avery® printable labels, you can create clean, professional, and fully customized planner labels that behave like stickers – perfect for recurring tasks, deadlines, and priority tags.
Why it’s essential:
- Fast visual cues without handwriting every time
- Professional look for work or school settings
- Unlimited customization (text, icons, colors)
What to make (ideas):
- Priority badges: “Urgent,” “Due Today,” “Call,” “Email,” “Read,” “Submit,” “Office Hours”
- Recurring labels: “1:1,” “Team Meeting,” “Lab,” “Practice,” “Workout,” “Study Block,” “Billing”
- Color-coded mini bars: A small colored strip you place next to events to match your color key
How to design and print (easy workflow):
- Choose your label size. Small rectangles or rounds work well for planners; pick any Avery format your store carries.
- Open Avery Design & Print Online. Start from a template or a blank canvas. It’s free, browser-based, and fast to learn. Source: Avery
- Customize.
- Type your recurring labels once (e.g., “Weekly Stand-Up”).
- Use bold for visibility; add small icons if you like.
- Create color sets that match your pen/highlighter colors.
- Print and store. Keep a sheet in your planner pocket or a folder.
- Refill on demand. You can save your designs and reprint as projects or terms change. Source: Avery
Pro tip: Make a tiny “Color Key” label and stick it to your inside cover. That way, your system is always on hand and easy to share with teammates or study partners.
Bonus: Avery has a great guide that shows you how to make your own planner stickers. Read more here.
Shop Avery Labels.
9) Pencil Pouch or Desktop Organizer: Keep Your Kit Together
Why it’s essential: If your tools are scattered, you won’t plan. A small pouch (or a desktop caddy) keeps pens, highlighters, flags, correction tape, and labels together.
How to use it:
- Mobile setup: Toss the pouch in your backpack or laptop bag.
- Desk setup: Keep a low-profile caddy by your calendar; restock weekly so your essentials are always within reach.
Tip for pros: Create a meeting-ready mini kit: 2 pens, 1 highlighter, small sticky pad, and a few labels in a slim sleeve.
Shop Pencil Pouches and Desktop Organizers.
10) Desk or Wall Calendar: Zoom Out for the Big Picture
Why it’s essential: Your planner handles the details, but a desk/wall calendar lets you see patterns – busy weeks, travel, exam clusters – so you can plan capacity and avoid overload.
How to use it:
- Monthly map. Copy only high-level commitments (deadlines, exams, trips) to the wall calendar.
- Team visibility. In office or dorm settings, a shared calendar makes deadlines and events visible to everyone.
- Color carry-over. Use your same color key so the wall view matches your planner.
Shop Wall Calendars.
Put It Together: Sample Setups for Real Life
For Busy Professionals
- Tools: 4 colored pens + yellow highlighter, sticky notes + flags, binder clip, correction tape, Avery labels, pen loop, desk calendar.
- Weekly flow:
- On Friday, map next week’s meetings (blue) and deadlines (orange).
- Add Avery labels for “Stand-Up,” “1:1,” and “Submit.”
- Each morning, write a 3-item sticky “Hot List,” highlight critical items, clip relevant docs to that week.
- Move incomplete tasks forward with a clean correction-tape edit.
- Why it works: You’re scanning visual cues, not paragraphs. Meetings and deliverables stand out.
For College Students
- Tools: 5 colored pens (one per class), transparent sticky notes, page flags, index cards, ruler, correction tape, Avery labels for “Study,” “Quiz,” “Lab,” “Due,” pencil pouch, wall calendar.
- Weekly flow:
- On Sunday, transfer syllabus dates to the monthly wall calendar (color by course).
- Use Avery “Due” labels on weekly pages; add “Study” labels three days before each due date.
- Build a tiny habit grid with a ruler for reading, practice problems, and office hours.
- Carry index-card “Daily 3” in your pouch; clip to the page.
- Why it works: Your planner becomes a live syllabus with proactive study prompts – not a last-minute scramble.
Troubleshooting: If Your Planner Still Isn’t “Sticking”
- Too many colors? Reduce to 3-4 to prevent decision fatigue.
- Crowded pages? Move low-stakes items to sticky notes you can park or toss.
- Can’t see the forest? Add a wall/desk calendar for an at-a-glance monthly map.
- Perfectionism trap? Your planner is a tool, not a scrapbook. Clean lines and clear labels beat ornate spreads every time.
Why Paper + Accessories Beat Apps (For Many People)
- Distraction-free: No notifications pulling you away when you’re mapping your week.
- Faster to capture: Open the planner, pen hits paper – done.
- Memory boost: Handwriting has been linked with better learning and recall, a plus for students and knowledge workers.
- Control & privacy: Your data stays offline unless you choose to share it.
If you prefer a hybrid approach, keep your planner as the “command center” and add digital reminders for hard deadlines. Many high-performers use both.
Your Next Step: Make the Planner You Already Own Work Harder
You don’t need a “perfect” planner – you need a useful one. With a handful of office supplies and a few minutes of setup, you can create a system that:
- Surfaces your most important work
- Keeps deadlines visible and proactive
- Flexes with your changing schedule
- Looks clean and professional in any setting
Start today: grab a few pens, sticky notes, a clip, correction tape, and a sheet of Avery® labels. In under 15 minutes, you’ll have a planner that finally earns its keep.
Wrapping It All Up
At the end of the day, your planner is only as effective as the tools you pair it with. Whether you’re managing classes, deadlines, or back-to-back meetings, the right accessories make your planner work harder for you. A few highlighters, sticky notes, and labels can completely transform how you organize your time, and the best part is – you don’t need anything fancy. Just reliable, everyday office supplies you’ll actually use.
Why Shop With Us?
When you’re ready to upgrade your planning game, we’ve got you covered. At Porter’s, we make it easy to grab everything you need in one place:
- Trusted brands you already love like Avery, Sharpie, and Post-it.
- Next-day desktop delivery – we don’t just drop it at the door; we put it where you need it.
- Blue Cow Service promise – real people, real solutions, and customer care that goes the extra mile.
Your planner should make life easier, not harder. Let us help you keep it that way.